Windows的环境配置总有些问题,但是装一个Linux虚拟机又很麻烦,看到了可以使用wsl的方法,于是决定配置一个舒服的Linux环境,在此记录一下配置过程。
配置过程
Windows Terminal
Windows的cmd终端,包括git什么的UI字体都很难看,正好了解到了Windows Terminal,于是我直接选择安装。感觉Windows Terminal的字体渲染就是十分舒服,虽然是1080p的屏幕看上去也很润。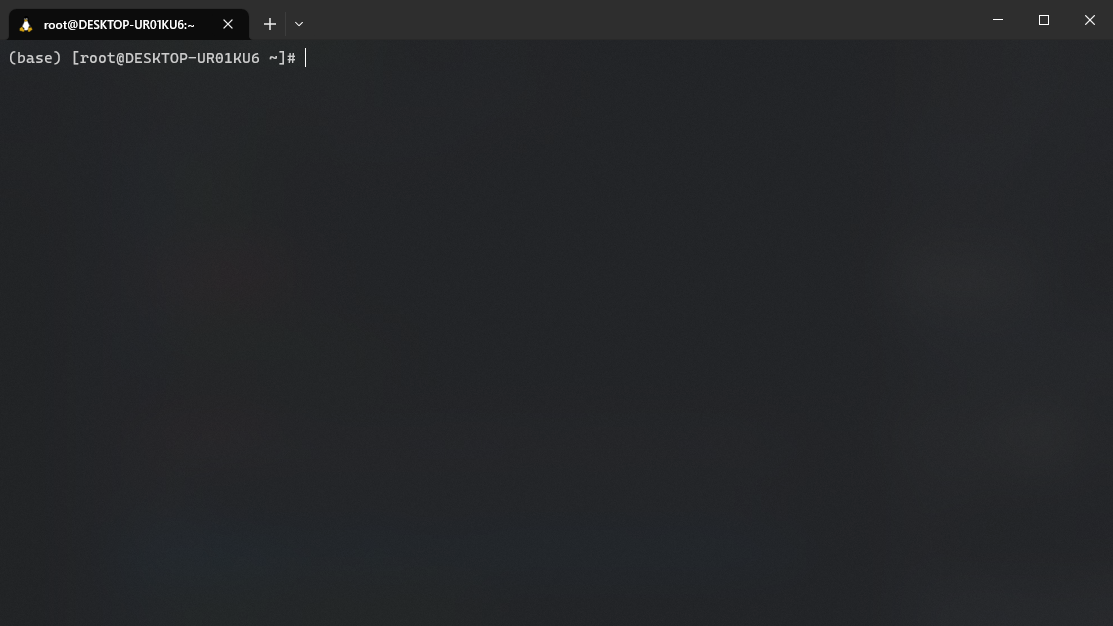
直接在Microsoft Store下载安装。
如果有git bash的话可以重新运行一下git的安装包,有个选项可以安装到Windows Terminal中,这样可以不用重新配置了。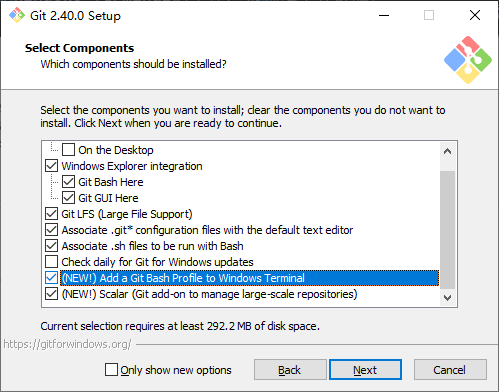
wsl
wsl开启也很简单,首先去BIOS开启一下虚拟化,然后在Windows可选功能中打开Linux子系统,这个功能就开启了。
接着就是安装自己喜欢的Linux系统了,可以直接用微软官方提供的Ubuntu系统,但是首先下载起来很慢,而且我更喜欢CentOS。因为服务器用的是CentOS,于是我也选择用CentOS吧,虽然我用起来也差不多。这里选择安装的是这里的镜像。安装也很傻瓜,解压之后双击exe就可以了。
安装完之后就可以在Windows资源管理器里面找到CentOS系统了。
要用终端访问的话,直接打开终端,输入wsl即可。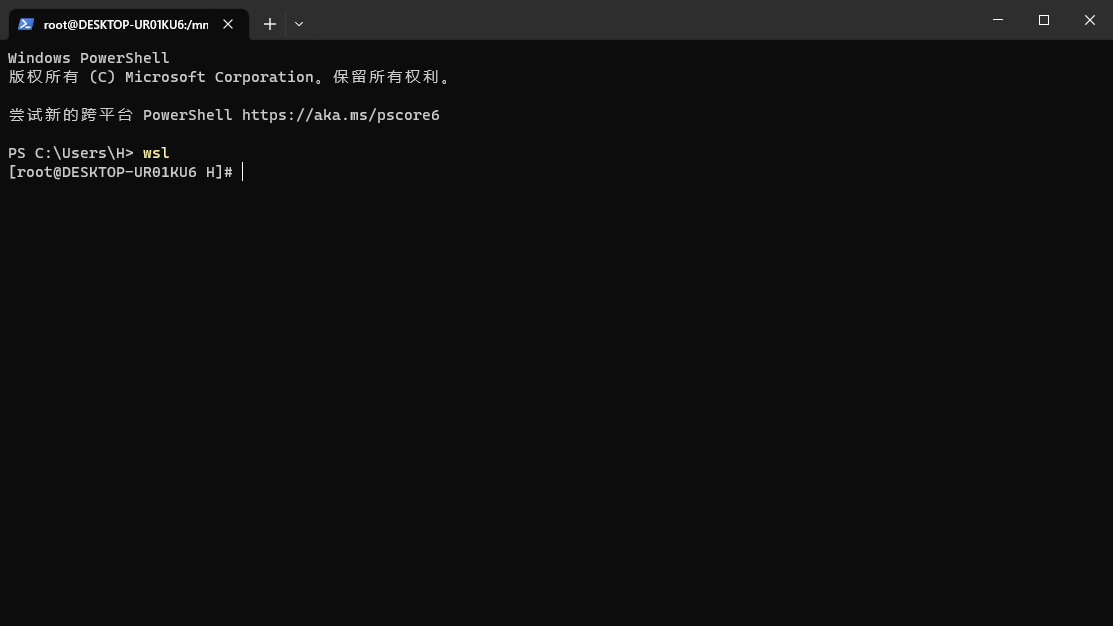
wsl2
之前发现可以安装wsl,但是没法设置wsl2,后来发现在可选功能里面把Hyper-V开启之后重启,然后wsl --set-version CentOS8 2,然后等待就可以了。不得不说,“可能需要几分钟”等了N分钟才好。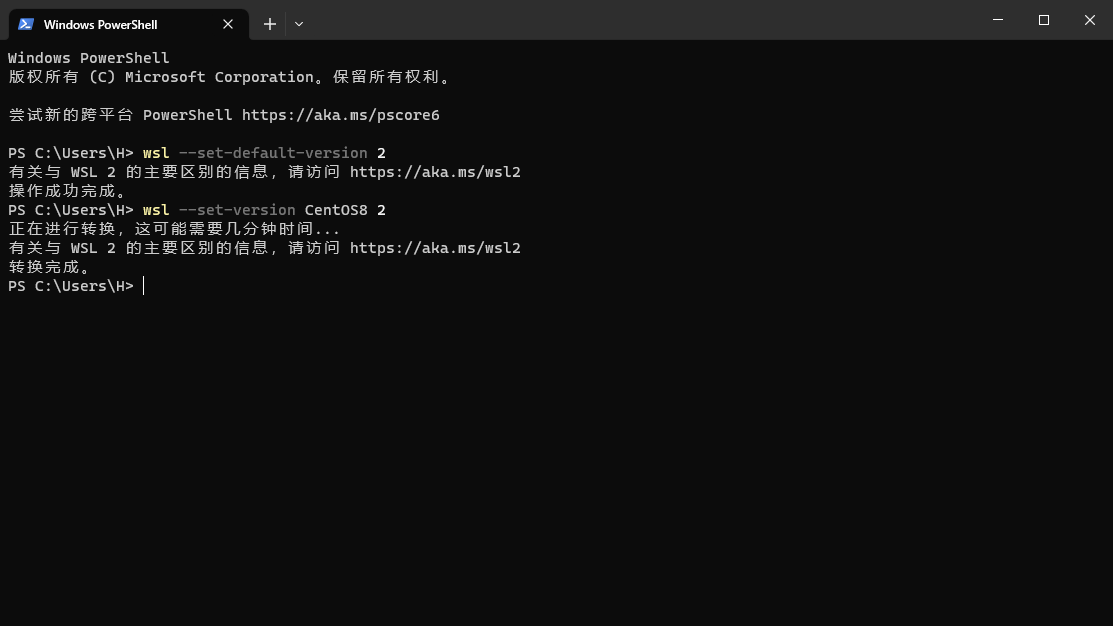
CentOS配置
yum换源
yum安装提示Error: Failed to download metadata for repo 'appstream': Cannot prepare internal mirrorlist: No URLs in mirrorlist,因此我们需要进行换源。这里我用的是阿里的源。
依次输入以下指令:
1 | cd /etc/yum.repos.d/ |
不过我这里wget没有安装,所以是直接下载放进去的。
然后把其他的.repo文件全都删掉。执行:
1 | yum clean all |
就能愉快的使用阿里源了。
一些细节的配置
1 | yum -y install wget |
git配置一下:
1 | git config --global user.name xxxx |
复制Windows的~/.ssh到Linux中。
Anaconda安装
这个镜像里面自带了Anaconda,因此只需要把Anaconda加到环境变量里面即可。
执行
1 | https://mirrors.tuna.tsinghua.edu.cn/anaconda/archive/Anaconda3-2022.10-Linux-x86_64.sh |
等待安装完毕即可。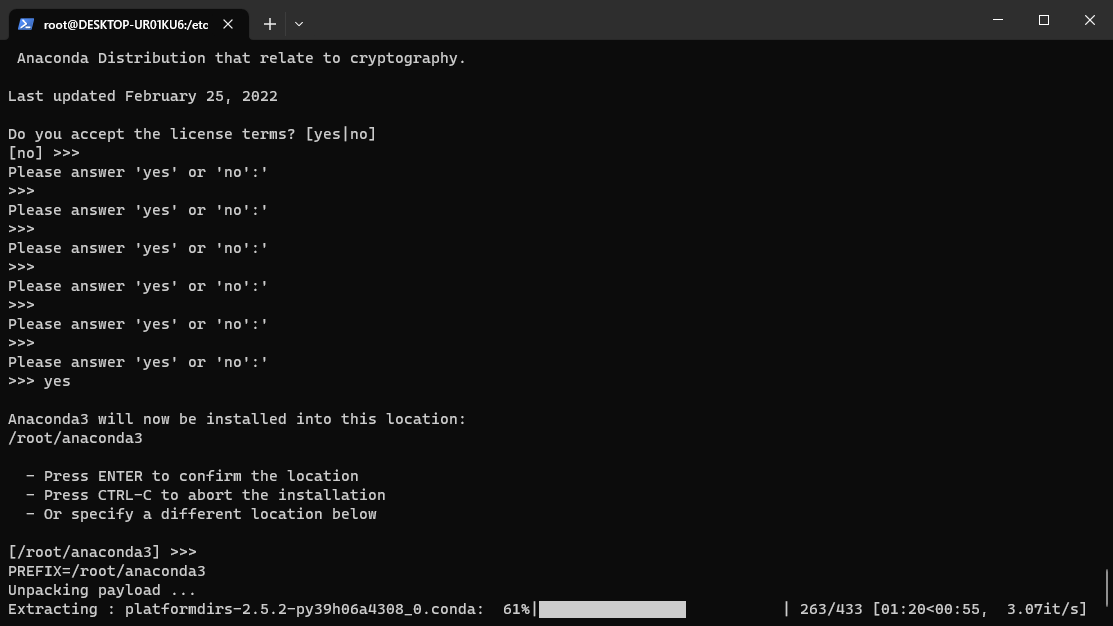
重新启动可以看到已经安装成功了。
切换为zsh
1 | yum -y install zsh |

安装ohmyzsh
1 | sh -c "$(curl -fsSL https://raw.githubusercontent.com/ohmyzsh/ohmyzsh/master/tools/install.sh)" |
可以看到经典的ohmyzsh字样,代表安装成功了。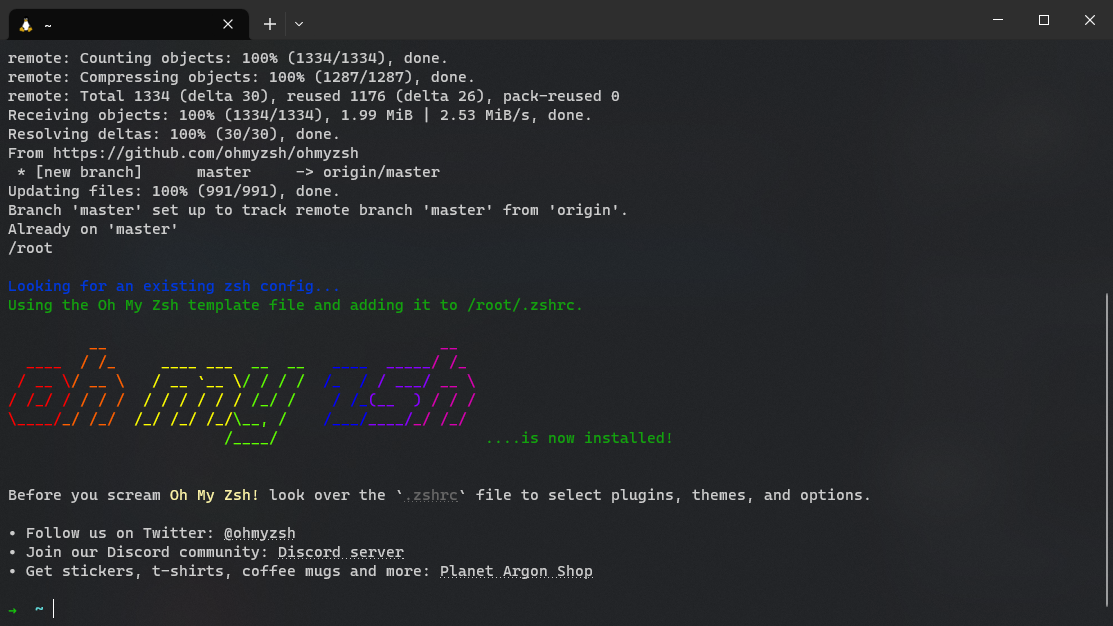
安装powerlevel10k
1 | git clone --depth=1 https://gitee.com/romkatv/powerlevel10k.git ~/powerlevel10k |
然后经过一些配置环节,用自己喜欢的就可以了。
zsh中启用Anaconda
1 | echo 'export PATH=~/anaconda3/bin:$PATH' >>~/.zshrc |
可以看到已经正常使用了。
VSCode配置
首先先在VSCode中安装WSL和Windows Terminal Utility。
然后在终端中执行:
1 | code . |
可以看到会安装一些东西,接下来就可以在VSCode中愉快的编程了。
zsh插件配置
执行
1 | git clone https://github.com/zsh-users/zsh-syntax-highlighting.git ${ZSH_CUSTOM:-~/.oh-my-zsh/custom}/plugins/zsh-syntax-highlighting |
vim ~/.zshrc,plugins改为plugins=(git extract z zsh-autosuggestions zsh-syntax-highlighting)。然后source ~/.zshrc。
代理设置
vim ~/.zshrc加入以下代码:
1 | export HOSTIP=$(cat /etc/resolv.conf | grep "nameserver" | cut -f 2 -d " ") |
source ~/.zshrc
然后proxy unproxy即可。
安装Node.js
1 | wget https://nodejs.org/dist/v18.16.0/node-v18.16.0-linux-x64.tar.xz |
出现版本号,代表安装成功。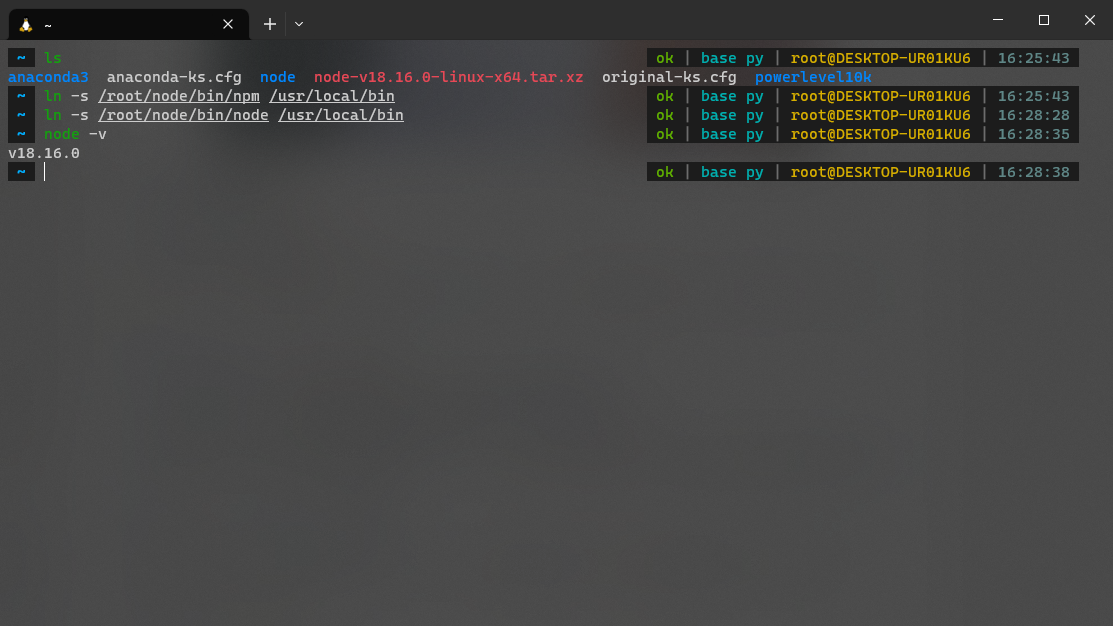
然后安装yarn:
1 | npm install -g yarn |
出现版本号,代表安装成功。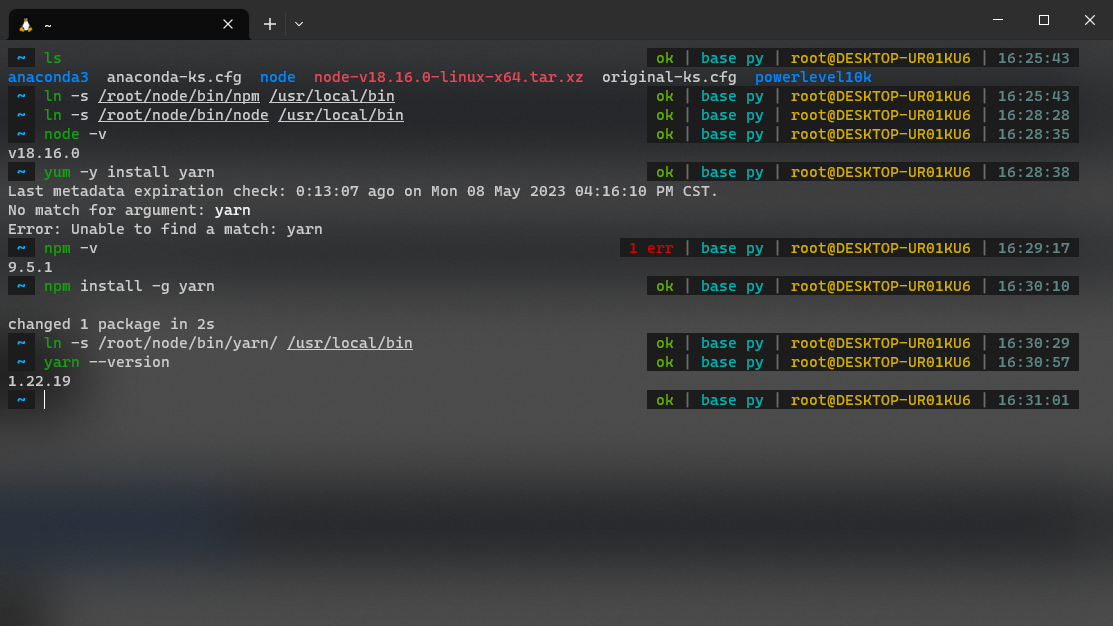
添加用户
之前的操作都没添加用户,现在我们创建一个用户。
懒得弄了。
安装screenfetch
1 | cd /usr/local/bin |
问题记录
UNC 路径不受支持。默认值设为 Windows 目录。
解决方法:新建一个.bat文件:reg add “HKEY_CURRENT_USER\Software\Microsoft\Command Processor” /v DisableUNCCheck /t REG_DWORD /d 1 /f
在/etc/新建wsl.conf
写入以下代码:
1 | [interop] |
然后自己在/etc/profile添加VSCode的环境变量。
To be continued.